Designing Your Own Voguish Beaded Chandeliers!!
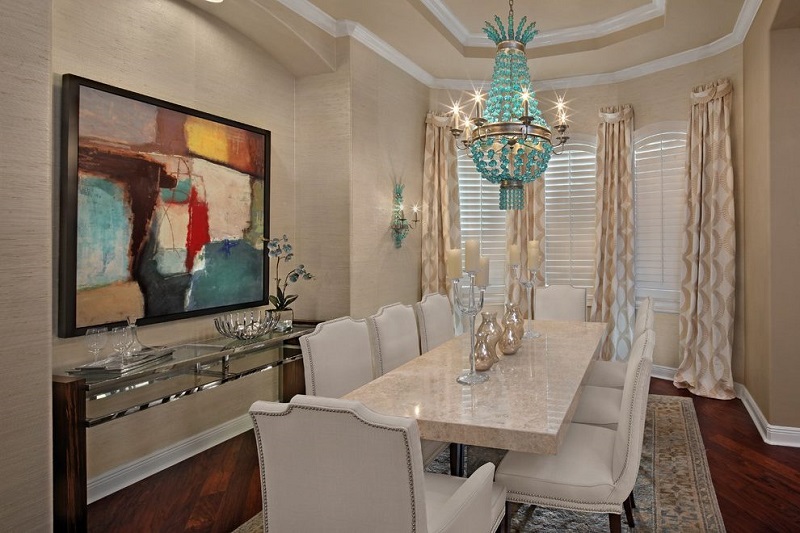
If we talk about current home decor style, then beaded chandeliers are in and they are wining everyone’s heart. Beaded chandeliers are light weight, elegant and easy to design. Just by following a few simple steps, you can design a beaded chandelier on your own. In this blog, we are going to talk about those steps only.
So, here’s the list of the items that you’ll need:
- A metal floral hanging basket
- 1100 12mm wood beads
- 500 16mm wood beads
- Ceiling canopy kit
- 8 Ft. Lamp cord set
- 1 6” Steel Nipple
- Hex Nuts
- 1 1/8” couplings
- Keyless socket
- Diameter loop kit
- Brushed nickel chain
- Cross bar ( in case you are using a wire hanger)
- 1” Flat alumina stock
- Bead wire spool
- White string
- Galvanized steel hanger strap
- Hemp twine
- Wire hanger or two different size craft rings
So, let’s start with the first step:
First of all you have to paint everything which you need on your chandelier from the beads to the structure on which you are going to install the beads. Make sure that the colour of the structure is complementary or same like the one on beads otherwise it will look odd.
Let’s move on to the next step:
Once everything is dry, take the diameter loop kit, smaller craft ring and one steel nipple with 2 hex nuts and paint them all. Now, leave them till they dry and cut down the 1” flat aluminium stock equivalent to the size of the small craft ring. Make two holes at the ends through a drill, so that you can wire it to the craft ring. Don’t forget to make a hole at the centre of the stock piece for attaching the steel nipples. After drilling, you need to paint. Wait till everything gets dried up and then assemble.
Step three:
Now, the top part has been assembled and you can move on to the next part. It’s time to take the wire basket, which you have painted earlier and also some of the bead wire. Wire the three chains with the small craft ring and simultaneously take the larger craft ring which is painted and dried and install the small ring till it falls comfortably. Then, tie this ring into place with the help of bead wire.
The next is the light structure step:
For this you will require a 8 ft lamp cord, 1/8” coupling, the keyless socket and 6” steel nipples. First take the lamp cord and the keyless socket and pick the end which is already wired and tie the socket to it. Now, you have to wire the keyless socket; you can test by putting the light bulb and plugging it in. When the structure is working, you can cut the cord from the plug end. Screw the 6” steel nipples to the sockets hole by pulling the end you have cut. For extra safety hex nuts are there. It’s time for 1/8” coupling; you have to bolt it at the centre on the top of the steel nipples. Through the steel nipples (which are held to the small craft ring) thread the remaining part of the cord. Now, the two steel nipples are to be connected by bordering with the coupling. Check if the light fixture is in the right place or not, and then lock the socket at the centre. I mean taking the bead wire and wrapping it around the nipples and attaching it to the chain. You have to do it with each chain.
Step five:
First, you just have to bind the string with the base and then you can cut it by making an estimate about the length. If you ask me, then I would prefer stringing it to the halfway to assure that the beads are enough. This way, you can also enjoy the option to go down by one more size and make it more flowing. Now, you are all done with tying the bottom and the top beads, you can move on with the galvanized coil and design a ring on the top half of the basket. Tie the bead wire with the two ends.
Step six:
Now, measure the remaining galvanized coil, so that it is enough for the mid part of the fixture and top of the structure. Take some hot glue and hemp twine and wrap it around the coil. You can even wrap some twine around the connection, so that it appears as a single item.
Hanging step:
Just connect the fixture loop with the chain and then interweave the cord with the chain. The last thing you need to do is taking the ceiling canopy kit and installing it with your beaded chandelier.

So, now you can create your own beaded chandelier and decide the colour on your own. But, usually it’s not easy for those who are least interested in calligraphy. If you are one of them, then designing a beaded chandelier on your own is not something you would ever want to do, don’t worry, at Classical Chandeliers you can find range of designer beaded chandeliers. Even the creative people can find some amazing designs for designing a chandelier on your own.
Apart from beaded chandeliers, we also have voguish crystal chandeliers and other modern chandeliers. Doesn’t matter what type of decor you have at your home or what type of styling you personally love, we have the right chandelier for you. You can explore our wide collection to look for the most modish chandeliers of all time. Besides chandeliers, we have also included picture lights, pendants and other light accents in our collection. So, what are you waiting for, get up and find the most suitable chandelier for your home at the prices that you would love. Don’t miss this opportunity to uplift the aura of your entire house by installing the most simplistic but elegant home decor piece.
Author’s Bio –
Michel Jonson is an enthusiastic blogger and genuine chandeliers fan or adviser who advises what type of Chandeliers and beaded chandeliers to purchase for your specific property style or interior design.