The A to Z of Owning A Shower Panel
Many owners like to use decorative shower panel rather than traditional bathroom tiles. This type of panels is perfect for creating a bath that is personal and unique while retaining functionality. Your investment of time and cost for the shower panel is very similar to the plaster wall that the majority of owners used.
Selecting Panels
 Here you will find many different designs and price tags, even when shopping for shower panel. We are sure that the number of disks that you want to determine your bathroom for some. After setting a budget for the coating, it is time to choose, one of the several models that meet your home decor.
Shaping
Cut to cover the seams of the panel and the upper and lower walls, you will choose, casting or molding that will match the trim. You need to cut larger pieces of molding used for walls, narrow and flat parts for the panel seams. You need a piece of trim for each seam and hem enough for top and bottom of all walls, because most people cut top trim and use a simple background.
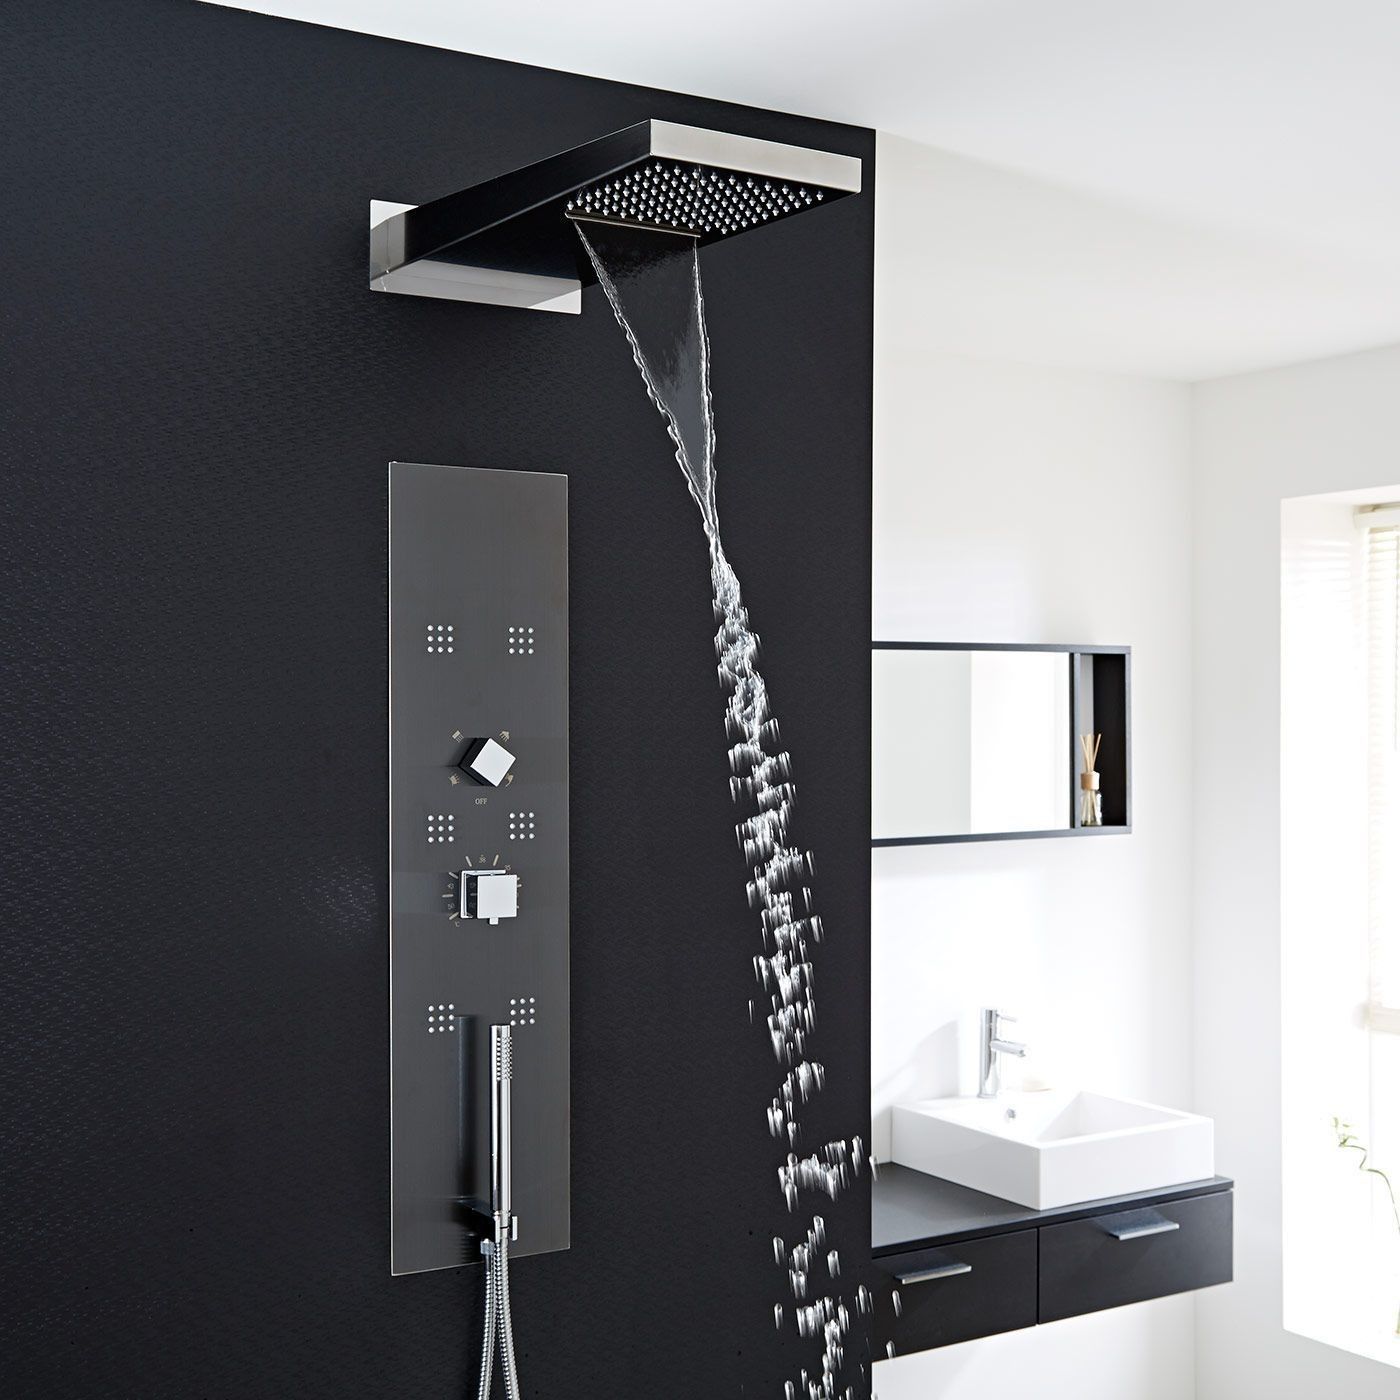
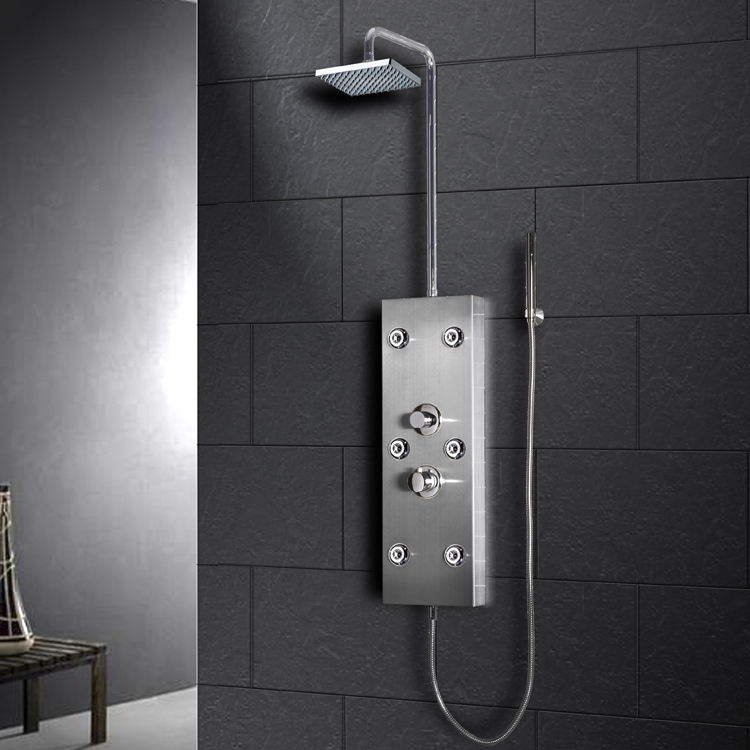
Material Type Paneling
It is recommended that material panels, which are very resistant to water vapor and moisture, which is in a bathroom to use. It is better, panels, buy specifically for bathrooms and other areas with high humidity such as basements. This will keep the panels are damaged and repairs in the future to keep to a minimum.
Removing Drywall
Once you have all the trim panel at home, you have two options. One possibility is the complete removal of the gypsum board that is in your bathroom so that managers and directors of the height. The other option is to take the plates on the existing sheetrock instead. Most people remove the stone blade, making it easier to install the new panel. Carefully remove the sheetrock, clean the area and have the equipment.
Cutting The Panel
Measure the width of the space between the stud and frame position. This must be uniform and a single measurement is required. Next measure the height of the wall. You need to measure the wall height for each item, whether the floors are slanted or crooked. Using a table saw, you want to cut the panels to fit into sections according to the size you measured. Enter to close a small gap between the two parts so that parts can be attached to the same image or frame.
Attaching Panels
The next step is the shower panel of the upper and frame position to attach. Screw with a stapler or wood along the accession stud and frame position. Further secure the upper and lower panels.
Finishing Pieces
The next phase of your project is to cut a bathroom wall tile parts for overlap or gapped in the wall panels. You guarantee these pins are on the board.
Garnish
Take the final trim for the lower and upper shower panel. They usually use a wider base and thinner at the top trim at the bottom. Try to cut a piece that covers the entire length of the wall instead of section by section. This is a high quality finish in the project.
I hope you have already become the master of the usage and A to Z of having a shower panel. My review center shared a pretty good article, if you want to get the right shower panel.