5 Home Improvement Tips And Tricks From Professional Carpenters
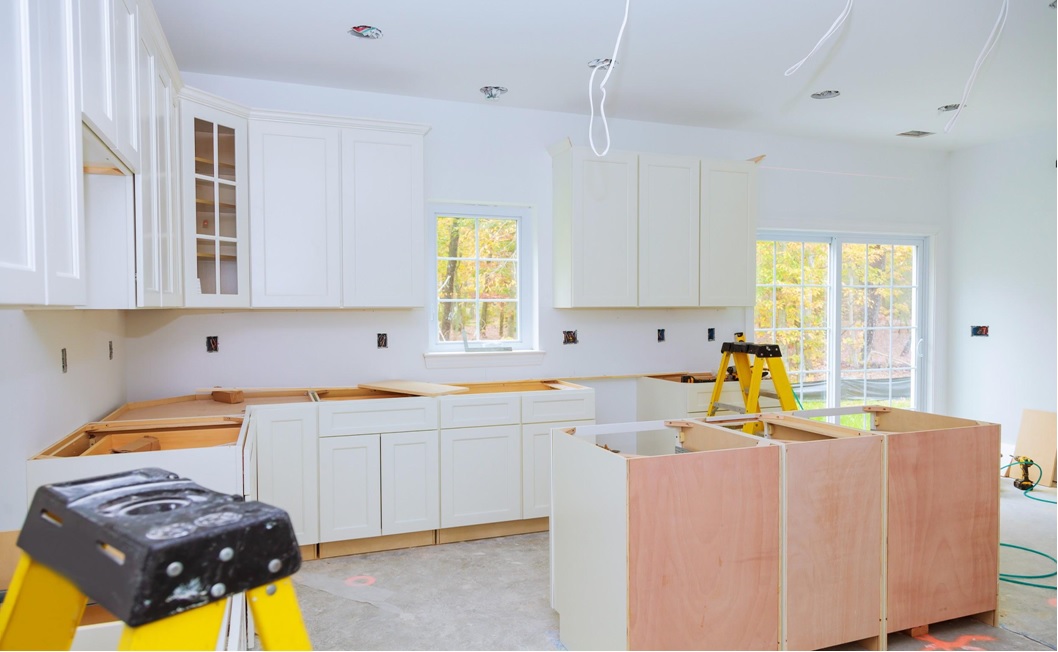
Doing a home remodel project is always a big undertaking. You have a lot you have to accomplish and sometimes you don’t have the slightest idea of where to start. Starting a remodel project means making decisions about how you’re going to accomplish your goals and what your skill level will allow you to do yourself.
DIY remodel and home improvement projects can be a lot of fun too, you just have to make sure you’re planning out how you’re going to do everything. That’s where doing some extra research and spending some time learning about how techniques you might need to use comes in handy. The more you know in advance the fewer nasty surprises you’ll run into later.
The good news about the research phase is that there are plenty of great resources and tips out there to find. You’ll be able to see tips from professional carpentry experts to specialized contractors. Whatever job you’re thinking about taking on, there are tips out there for you. Here are five great home improvement tips and tricks from professional carpenters.
1. Use A Pencil, Not A Tape Measure
This might sound like odd advice when you’re getting ready to remodel something in your home. Accuracy is important and it feels counterintuitive to put down the tape measure and pick up a pencil instead. Keep an open mind about this tip though, because it does come from pros who have years of experience measuring (and mismeasuring) wood they’re about to cut.
For instance, if you’re putting new baseboards in your bedroom, use the wood itself to mark where you’re going to cut instead of a tape measure. Place the wood along the length of the wall and put a pencil mark on the exact spot you’ll need to make the cut. This is going to be much more accurate than using a tape measure.
With a tape measure, there’s a margin of error possible. If you’re off by even an eighth of an inch your floorboard piece may be ruined. Depending on the type of wood you’re using that could be a very costly mistake. So, remember, put down the tape measure and pick up a pencil. Mark where you’re going to cut and rest assured you’re doing things more accurately than ever.
2. Be A Good Planner
Before you even start a project you need a plan of attack. If you aren’t sure how you’re going to do everything you shouldn’t be starting the project at all. You don’t have to make your plans overly formal they just need to be mapped out in some manner that is clear to everyone involved. If you want to write them on a napkin while you’re having dinner, that’s just fine.
When you’re making your plans think about every small detail of what’s going to happen with your project. How is each task going to be accomplished and who is going to be responsible for accomplishing that task? Which tasks can you realistically do yourself and which tasks should you be considering hiring help for? Make these plans in advance and stick to them.
If something comes up while you’re working on your project and you don’t know what to do next refer back to your plans. You can use them to reorient yourself and remind yourself of the original idea. If you need to make an adjustment at that time, that’s fine but you should still have a plan in place before you start the project regardless of the potential for future adjustments.
3. Practice, Practice, Practice
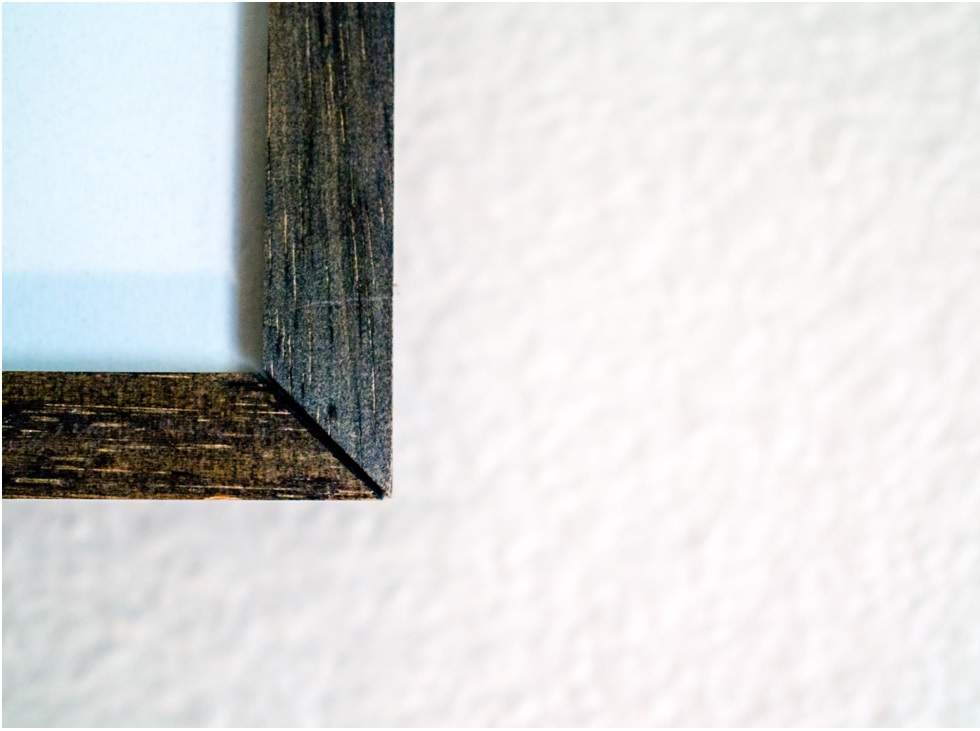
If you’re going to attempt something difficult like a mitered edge for some new crown molding in your bedroom, practice first. Use cheaper wood supplies and practice cutting that mitered edge until you’ve perfected the craft. A lot of these techniques take a little trial and error. Having some muscle memory and learning from mistakes will help you when you go to make the final cut.
Remember that you can practice any carpentry skill before you make it a permanent part of your home. If you’re shakey in one of your abilities there’s nothing wrong with that. Carpenters take years to perfect their craft so it’s okay to take a day or two to practice a skill you haven’t ever attempted before. In this case, practice really does make perfect.
4. Carefully Plan Demolition Day
If you’re removing things like walls or old fixtures it’s good to be prepared before demo day arrives. Be ready for several scenarios before you even get started. Have a large waste bin rented and ready for the pieces you’re not going to keep. You won’t be able to just toss parts of a wall in your regular trash can so rent a bin and be prepared.
Make sure everyone is clear on which things are being kept and reused. If you have to remove the sink in the bathroom to demo something else, make sure everyone knows the sink is not being replaced and should be safely stored away. Don’t let anyone start one bit of demolition until everyone is on the same page. It will save you time, money, and a lot of headaches.
5. Pay Close Attention To The Order You Complete Projects
If you’re doing a whole remodel or even just a room remodel you need to be methodical about the order you’re doing things in. If you jump the gun and do something like painting first, you could risk ruining a new paint job with a floor sander if you lay flooring down later. The order you do things in really does matter so make sure you’re making a logical progression.
In general, things that should be left for the end would be wallpaper, painting, final sanding, and other very detail-oriented finishing touches. If you’re worried about a part of your project being ruined by some of the rougher work that needs to happen, don’t do the more delicate project first. This will save you the frustration of extra touch-ups you could’ve avoided.
Conclusion:
You can definitely manage to remodel your home and do a lot of the projects yourself as long as you’re doing your research. You can use these tips to help make your project more successful. Keep in mind the internet is a great resource for how-to videos, blog tutorials, and tons of other DIY tips.
Use your resources to make sure your project will look fabulous when you’re finished. You’ll be much happier living in a home with finished projects you love than a home with finished projects that look less than ideal. Happy building!