DIY Tips for Installing a Drainage System
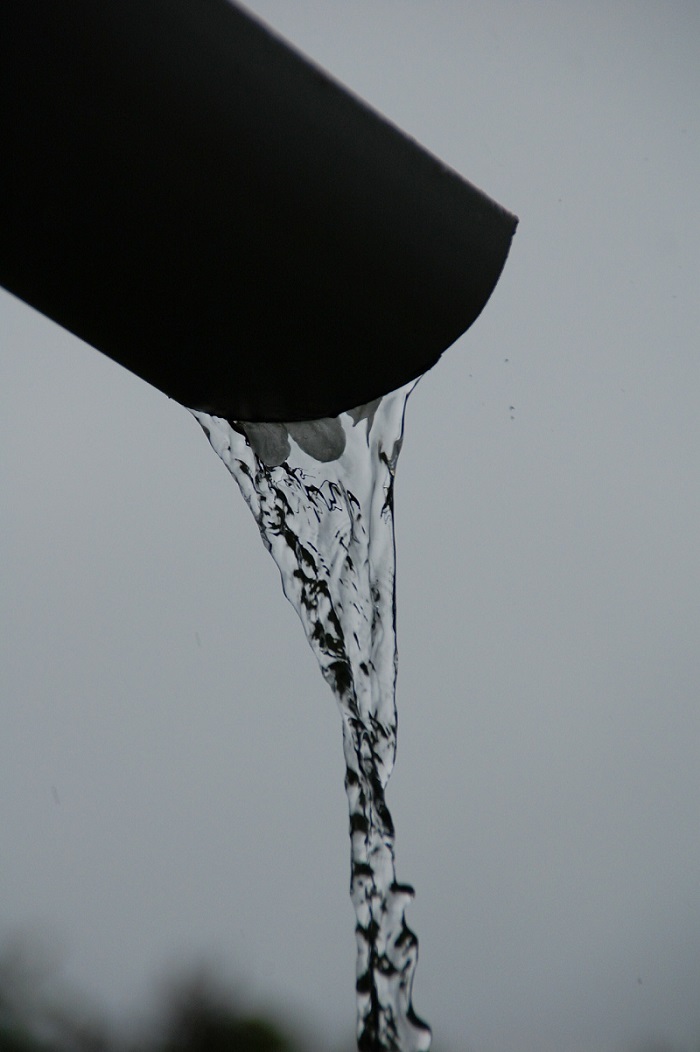
Having a drainage system in the foundation is important if you want to make your home strong and long-lasting. Not only can drainage issues in the foundation lead to a lot of standing water in the yard, it can cause mold, cracks in the foundation, and other damage to property.
What makes this worse is that flooding from improper drainage in the home will not be covered by insurance because it is something the homeowner can prevent. If you would like to install your own foundation drainage system, then you need to use some of the steps below:
1. Look Up Local Regulations
Each state and locality will have laws when it comes to foundation drainage systems. There may be some rules on the type of system you can install and where you are able to install this. You need to check your local laws to make sure you do it right, or it will end up costing a lot of time and money as you fix this.
The reason there are laws in place is to protect your neighbors and to make sure no one can use a drainage system that will harm your property. It is possible that your drainage system will affect the properties near you so always follow the local law when starting.
2. Dig the Trench
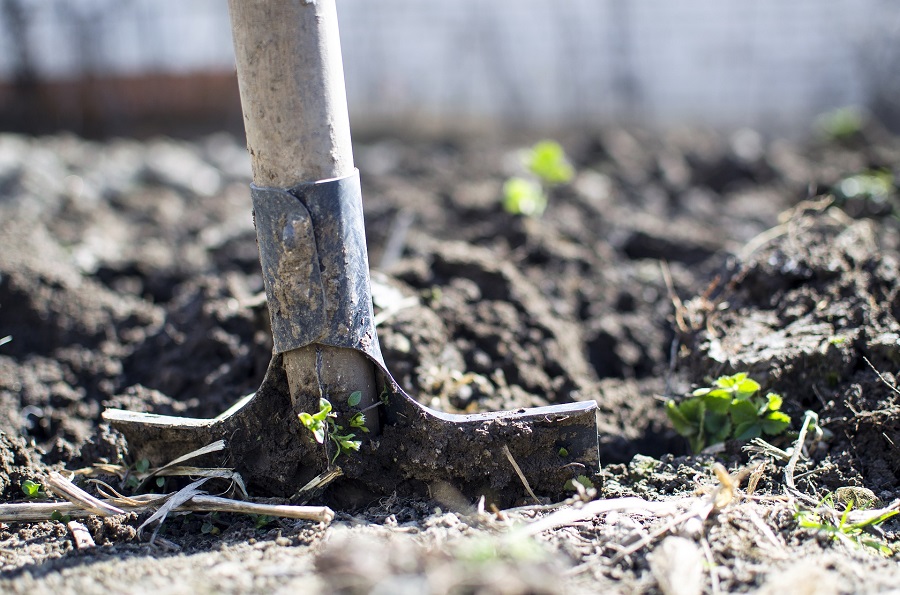
Before you do any digging, you will need to get the property prepared. Call any utility company you pay and ask them to mark where the utility lines are buried. This will help prevent you from cutting right through the wire when you work.
Then it is important that the trench is designed to use elevation properly. This means you want it to direct any water away from your property. As you dig, the trench will need to be two feet wide with the depth long enough for the whole pipe to be below the frost line. Six feet is often enough for a regular basement.
3. Create the Slope
You need to have a slight slope in the trench you are digging. This will help make sure that the water does not pool near the property and will go away from it. Take a string and then tie it in the location where you would like the pipe to start. Then run that string to the next stake and wrap it around.
You need to use a line level to get the string nice and level. Then slide it down just a bit, half an inch is good, to help get the slope so the water will run down. Do this until you have tied it around each stake.
4. Level Your Soil
Next, we need to bring out a tamper and pack the soil in the trench, creating a solid base. Measure to make sure that the distance between the string and the soil is the same for each stake. You can adjust the trench by removing or adding soil until you get the slope you would like.
Once all of the soil for the trench is tamped down, it is time to remove the stake and your string guides. The slope will still be in place thanks to the work you already did.
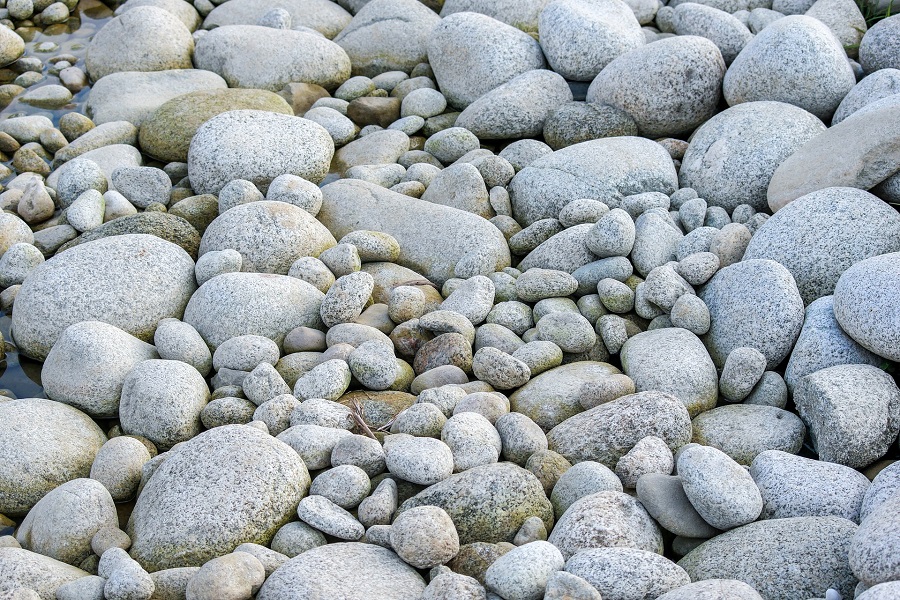
5. Add the Gravel and Geotextile
Another step to consider is the geotextile. This needs to be laid down to ensure the soil will not clog up the pipe. If this happens, you will need to go back through and redo the problem after drainage issues arise again.
You just need to place the fabric along your trench to make this work. Make sure the fabric is wide enough that it can wrap around your drainage pipe along with any gravel that surrounds it.
With this in place, you can add some gravel onto this fabric. You will want the gravel to be 2 inches thick. Use a rake to level it out to make it as even on the bottom as possible. You want to make sure the grave is an even thickness throughout and that you rake through it to settle in any of the holes and gaps.
6. Place Your Pipe
Now it is time to add in the pipe you want to use. Take the perforated drainage pipe and lay it right on the gravel that we just laid down. Check the laws and regulations for your area to make sure you do this right.
For example, some areas will ask that you use a sock tile, which is a drain pipe that has a cover of permeable mesh. The reason for this is that the mesh will be a second barrier that ensures the pipe will not get clogged up with dirt.
7. Finish It Up
After the drainage pipe is in place, add on a second layer of the gravel. You need to have enough on top to allow the pipe to be four to six inches deep to keep it covered and away from any issues of getting hit.
You can use the geotextile that you placed earlier to help wrap up the gravel and pipe together. Cover the whole thing with a little bit of dirt to keep the fabric in place. Fill the trench and replace the landscaping as needed.
Placing Your Own Drainage System

It is easy enough to place your own drainage system with a little bit of time and work. Make sure that you call the local utility company to ensure that you place everything well and that you do not hit any wires and make the electricity go out for the whole neighborhood. With clear markings of the wiring, you can make a great wiring system in no time.
While it is possible to do your own drainage system with the steps above, if you have a large project, it may be necessary to handle some of the work through professionals. For most of the simple projects out there though, you can use the steps above to make the drainage system you need.