Everything You Need To Know About Audio Marine Installation
If you ever feel dull and bored while traveling in a boat, bring and build a stereo system in your boat. A sophisticated stereo system will boost up your listening experience in the boat. Whether there is a casual gathering or a normal tour, you will feel more relaxed and calm due to soft music.
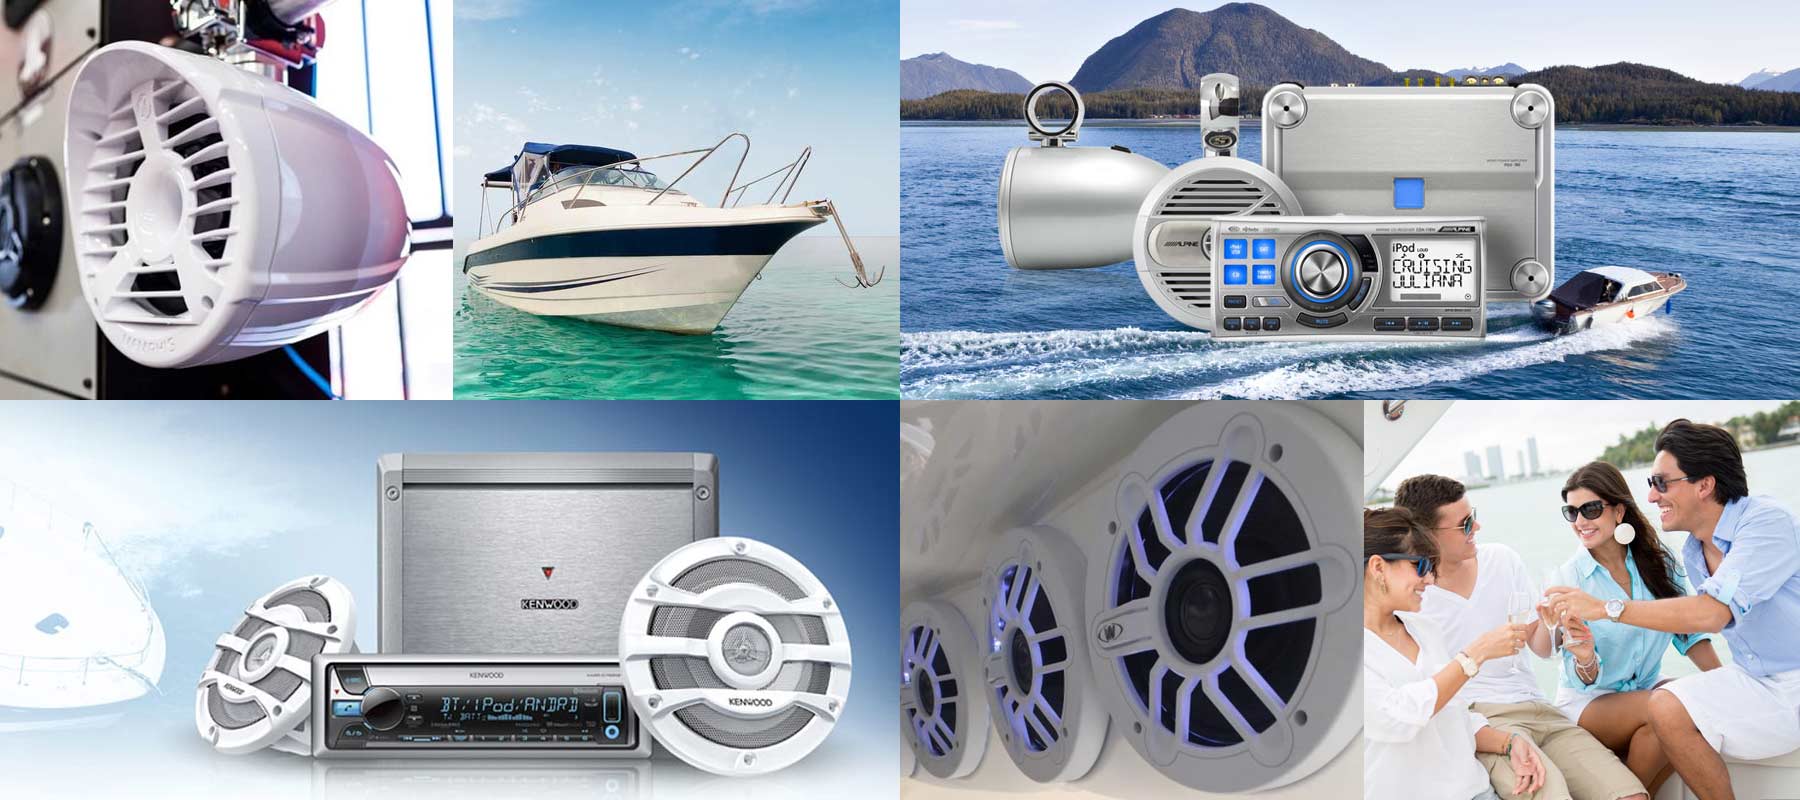
Unlike other loud stereo systems, Jl audio marine will entertain you with soft, pleasant music. No need to worry if you don’t know how to install this great stereo system in your boat. Here is a complete guide elaborating on every step of installation of the Jl marine subwoofer.
How to Install an Audio Marine System in Boat?
The installation of Jl subwoofers is quite easy. All you need to have a wiring kit containing all installation accessories. After that, you need to choose a well-ventilated destination upon which you can mount the marine subwoofer. After mounting it, you can wire and test its functionality. Whether you want to install a 6-inch Jl marine subwoofer or an 8-inch stereo system, you need to follow these steps.
1- Mounting
It’s easy to mount a marine subwoofer in the boat within the box or a baffle. You can mount it on any place in the boat where the box cannot be used. Before installing a marine subwoofer, make sure your subwoofer is built for baffle installation or free air mounting.
As the Jl marine subwoofer is made to be sprayed and is water-resistant, so feel free to mount it on the front compartment. Do you want to install your subwoofers in an enclosed area? Well! You can do so by connecting the leads of the terminal and screw across the diametric enclosure hole.
2- Wiring
The very first thing you need for wiring is an amp kit. An ideal amp kit facilitates you in wiring procedures by grounding it, powering, and lead wires. Though wiring is a difficult task, you can make it easy with an amp. You can wire your stereo system in two manners, i.e., series and parallel.
- In parallel wiring, you need to connect the subwoofer’s positive lead to the amp’s positive terminal and the negative lead with the negative terminal.
- While in a series wiring fashion, we suggest you connect the negative lead of a Jl marine to the amp’s negative terminal and subwoofer’s positive lead to the amp’s positive terminal.
3- Testing
After wiring the subwoofer, you need to test your audio, marine installation. For this purpose, could you turn on the stereo and check it? If both speakers work properly after connecting and music is played by turning up the volume, you have done a great job. But in case of rattling noises, you should check where there is a mistake. Consult your user manual and make its functionality ideal.
4- Cleaning
When you test the proper functioning, you should clean it and place it in a safe place. We suggest you clean up all the wiring with zip ties. And place wirings in an unreachable location to avoid any disturbance.
Why is marine audio installation a time taking process?
You might be thinking about why it’s a long-lasting process when these are just 4 simple steps. Well! The answer is its wiring and installation is not as much easy as it seems to be. The subwoofer installation in boats is a time taking process than that of installation in cars and trucks.
Here are some reasons depicting why Jl audio marine installation takes time.
-
Marine Wiring Demand More Reliability
As boats are continuously exposed to water, humidity can increase the corrosion process. In case of corrosion, your wiring and all connections will fail. Are you thinking about any alternatives? Yes! There is a way to protect your connection by coating it with the lining of adhesive heat shrink tubing and dielectric silicone. These coatings will make your stereo system more reliable and corrosion-free.
-
Wires’ Running is a Time-Consuming Process
To run a speaker cable, interacting devices, and power wire is a tricky task in a boat. You know what factory wires cause a harness when moved over cable channels without any access. In this case, you have to connect new wirings that are often time-consuming. For this purpose, you have to remove storage cabinets for correct systematic execution. Moreover, people want to add speakers over a wakeboard tower which is again a time taking process.
-
Need water-resistant and corrosion-resistant material
People who claim that stereo installation does not take time in on-road vehicles should know the difference. When you install it in the vehicles, you can tire and create an amp rack under the plywood seat. But in wood, doing so can cause deformation and swelling of wood resulting in connectivity failure. We recommend a UV-protected high-density polyethylene material connectivity to fade, chalk, and corroded even after getting wet.
-
Use of Ignition Protected Device
If you want to make sure the safety of connectivity, we suggest you use only ignition-protected devices. Ignition-protected devices are at no or less risk of explosion when ignited with fuel vapors when coming in contact with fuel cells and engines. You know what, such ignition-protected circuit breakers, connectors, and battery disconnectors take some time in wiring the system.
Conclusion
The installation of audio marine is easy, but it can be time-taking. For an error-free installation, you can hire an expert so that they can easily do it for you. To buy jl audio marine, visit Marine tech Miami for quality stuff.