Ultimate Guide to Roof Access Hatches and Their Installation
Ever wondered how maintenance crews safely reach your building’s rooftop? Or perhaps you’re planning a renovation and need to understand your options for rooftop entry? Maybe you’ve noticed that dodgy makeshift access point on your commercial property and thought, “There’s got to be a better way.”
You’re absolutely right there is. Roof access hatches are the unsung heroes of building design, providing safe, compliant, and convenient entry to rooftops across Australia. Whether you’re a property owner, facility manager, or builder, understanding these essential components can save you headaches, money, and potentially even lives.
What’s a roof access hatch, anyway?
Picture a doorway sitting flat on the roof a horizontal portal that lets you walk between the floor below and the top of the building. Basic parts? A frame that hugs the opening, a lid that swings or lifts, hinges that don’t squeak, and seals that keep rain out. Most come with a lock and a few safety bits.
Not a skylight – don’t mix them up
Skylights want in light. Hatches want people in. Hatches are built tougher, with beefier hinges and fire‑rated steel if needed. They have to pass safety checks before anyone can climb through.
Why bother with a proper hatch?
Because the law says so, and because you don’t want a leaky roof or a worker slipping. Australian Work Health & Safety rules demand a safe way up. In a fire, a hatch can double as an emergency exit. No hatch? No occupancy certificate for many commercial spaces.
Types of hatches – pick your flavor
Standard – no‑frills, works in mild climates.
Thermally insulated – lid and frame packed with foam; great for temperature‑controlled buildings.
Fire‑rated – holds back flames, keeps the fire from spreading.
Safety‑enhanced – built‑in ladder, railings, sometimes motorised opening.
How big should it be?
Australian Standards say at least 600 mm × 600 mm. Most folks opt for 750 mm × 750 mm – a comfortable size for a person plus a toolbox. Residential sites can get away with smaller openings; commercial and industrial sites often need larger ones for equipment.
Material showdown:
Aluminium – light, resists salt spray, easy to lift.
Steel / galvanised steel – heavy‑duty, budget‑friendly, rust‑protected.
Fibreglass & composites – light yet strong, good thermal properties, natural corrosion resistance.
Installation – a quick‑step walk‑through
Pre‑planning. – Scan the roof. Find a spot away from ducts, wires, and pipes. Gather a saw, drill, tape, chalk line, sealant, and fall‑protection gear.
Cut & fit. – Mark the opening, cut through decking, set the curb frame level, bolt it down.
Seal & finish. – Flashings and sealant around the curb, attach the lid, adjust hinges, add locks or gas struts.
Test it. Open, close, jiggle – make sure it moves smooth and stays watertight.
DIY or call a pro?
Sure, you could DIY a simple residential replacement if you’ve got the right gear and a safety harness. But for fire‑rated units, commercial roofs, or any structural changes – hire a licensed installer. A botched job can leak, weaken the roof, or land you a fine.
Codes you can’t ignore
The National Construction Code and Australian Standard AS 1657 spell out dimensions, load ratings, and fall‑protection requirements. Work Health & Safety rules demand safe access for anyone at height. Slip‑up can mean hefty penalties.
Keeping the hatch happy
Inspect seals every six months – replace cracked ones fast.
- Lubricate hinges and gas struts annually.
- Clear debris; a blocked drain invites leaks.
- Touch‑up paint on steel to fend off rust.
Common hiccups & quick fixes
Leaking? Check seals, flashings, and drainage paths. Stiff lid? Oil hinges, swap gas struts if they’ve lost pressure. Rust on steel? Scrub, prime, repaint.
Security don’t leave the hat open
Locks range from simple padlocks to keyed cylinders and even electronic keypads. For commercial sites, consider tamper‑resistant hardware, an alarm, or a CCTV eye on the roof.
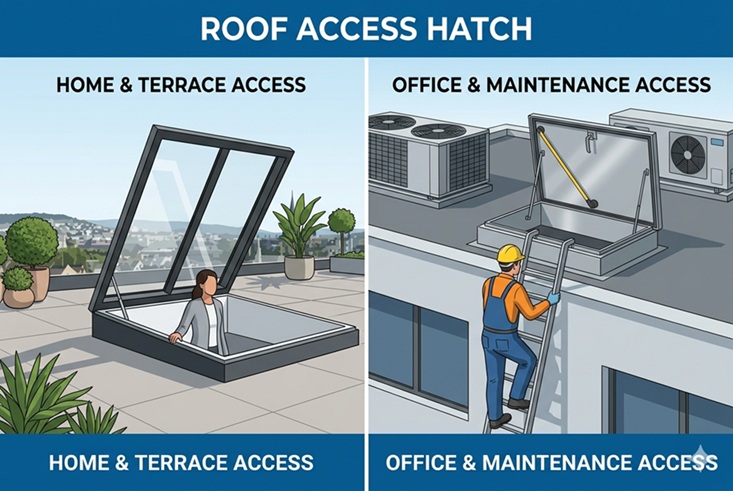
Commercial vs. residential – what’s different?
Commercial hatches are bigger, tougher, and used more often. Residential ones can be smaller and hide under a roof tile, but they still have to meet code.
Choosing the right hatch
Ask yourself: How often will the go up? Who’s using it? What’s the climate? What fire or safety rules apply? Answer those, and you’ll land on the perfect size, material, and feature set.
Now you’ve got the basics. No more guessing. Pick a roof access hatch, install it right, and keep it in shape. Your roof and the people who work on it will thank you.